Step-by-Step Acrylic Sports Court Installation Guide
The Foundation of Every Great Game
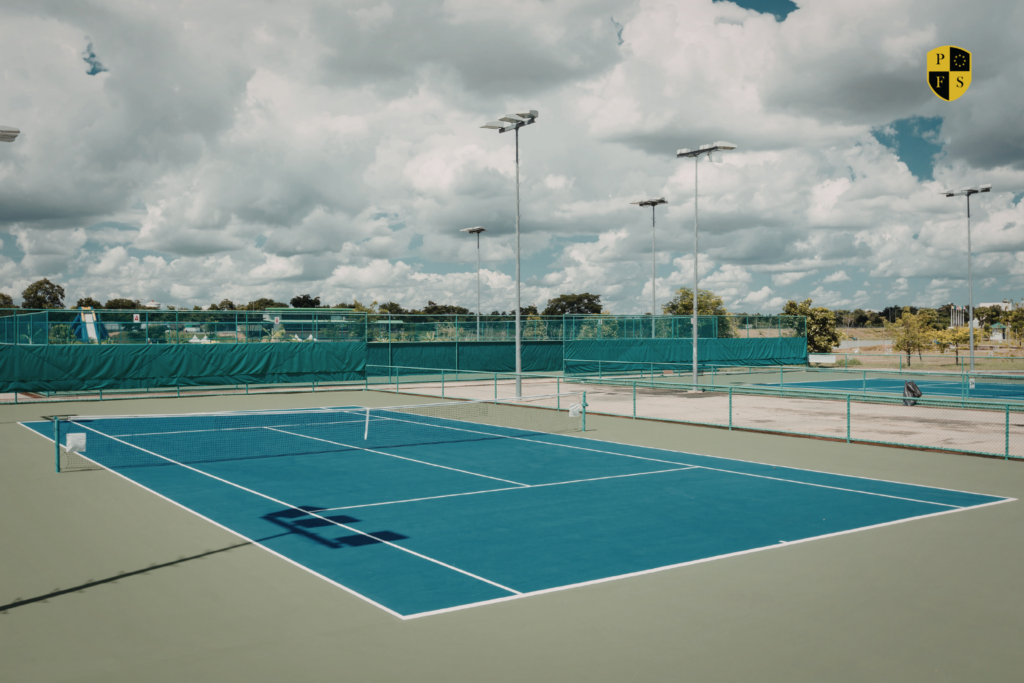
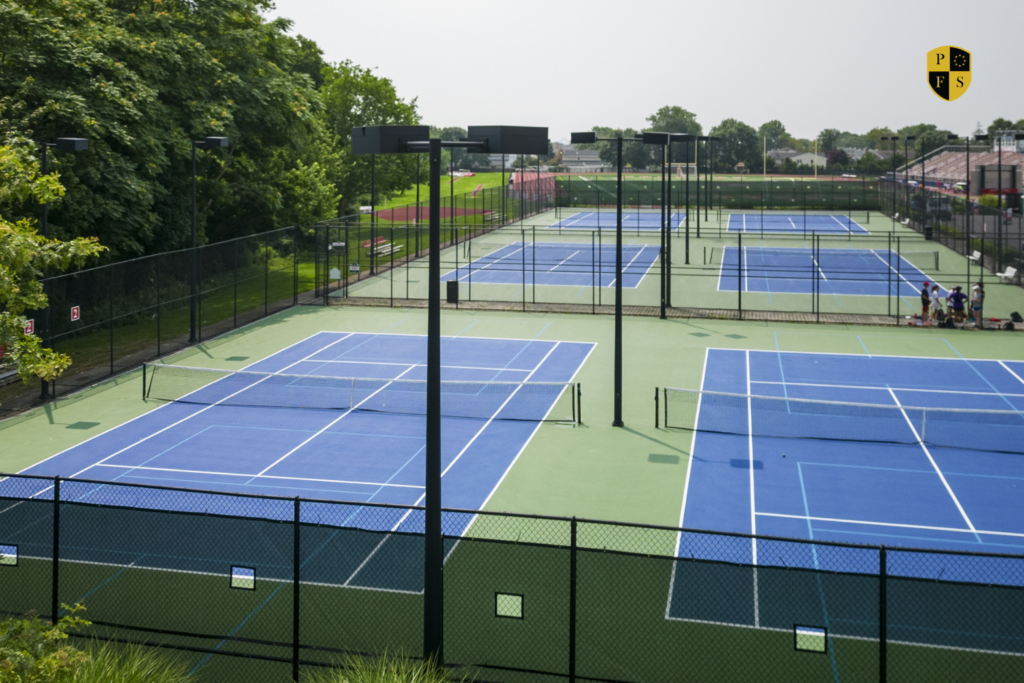
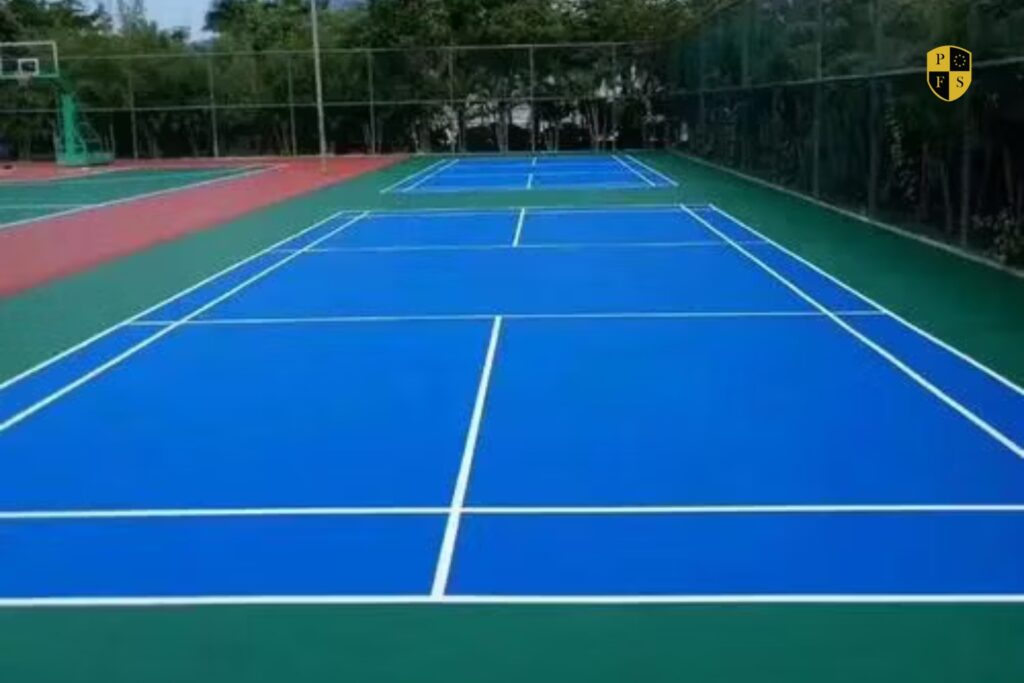
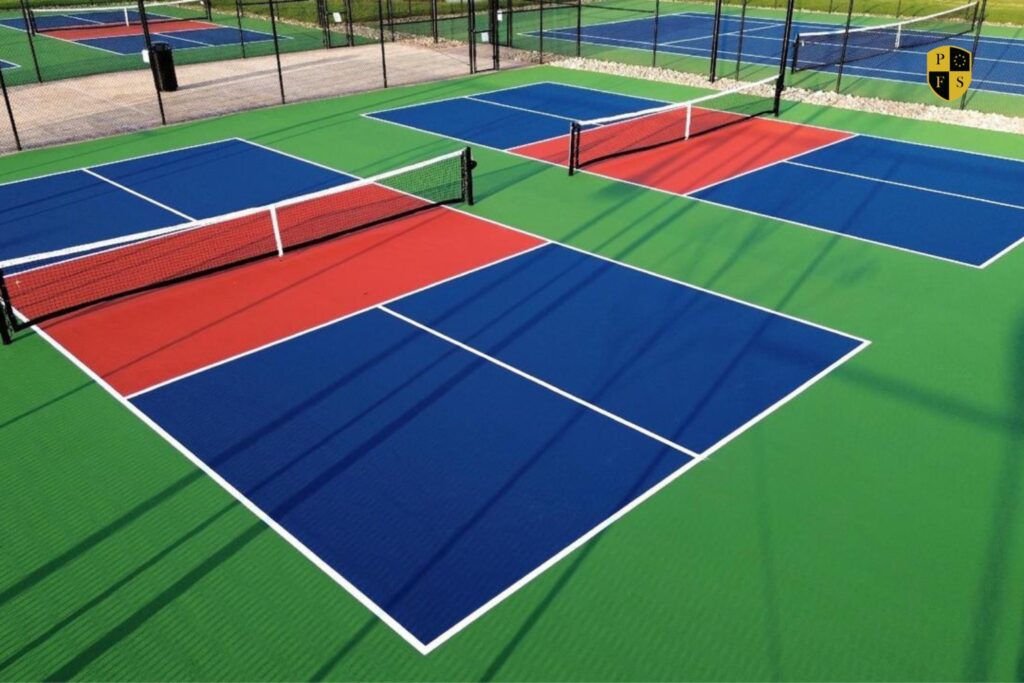
When it comes to building a professional, long-lasting, and visually appealing court, acrylic sports surfaces stand out as the top choice.
They’re durable, low-maintenance, and offer a consistent bounce — whether for tennis, basketball, or multi-sport facilities.
At PFS Sports, we understand how critical the installation process is. That’s why we’ve created this complete guide to acrylic sports court installation — so you can get a flawless, high-performance finish every time.
In this blog, you’ll discover the exact steps, materials, and expert tips for installing acrylic surfaces that meet international standards.
Understanding Acrylic Sports Surfaces
What Makes Acrylic Ideal for Sports Courts?
Acrylic sports surfaces are made from resin-based coatings applied in multiple layers over asphalt or concrete.
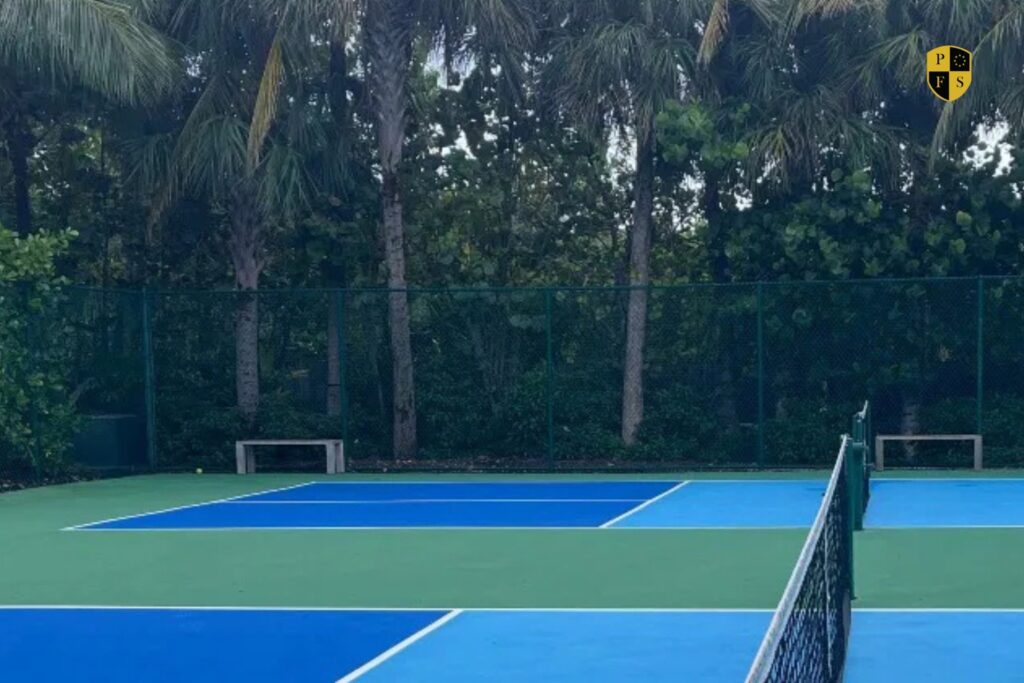
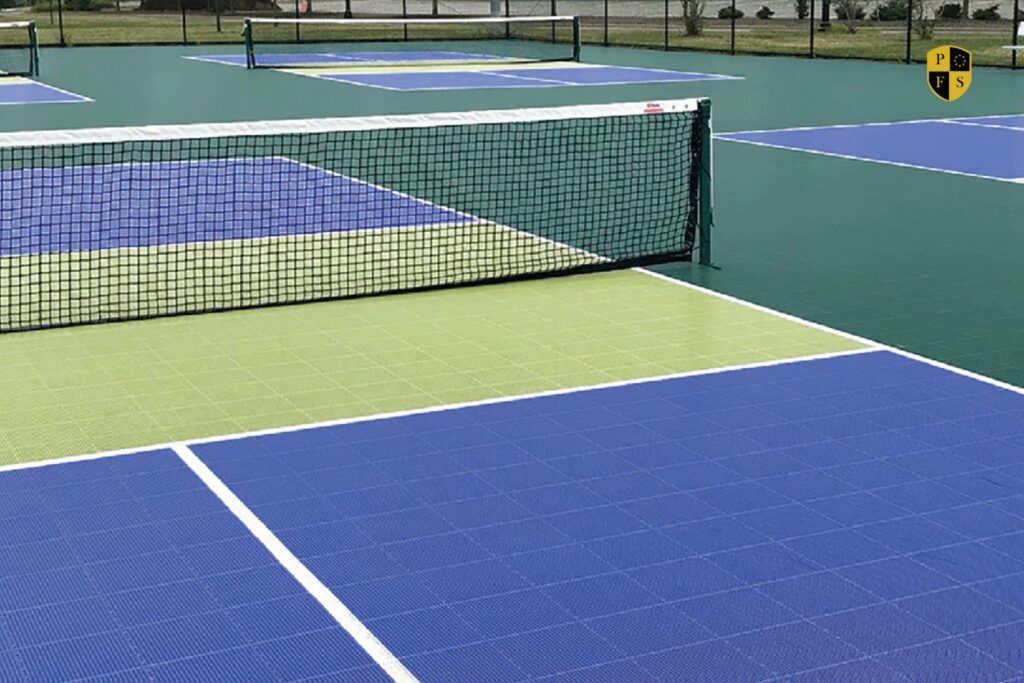
They’re UV-resistant, weatherproof, and available in a variety of colors. Most importantly, they ensure optimal traction, durability, and playability — ideal for both professional and recreational use.
Benefits of Acrylic Sports Courts
- Weather Resistance: Withstands heat, rain, and UV rays.
- Low Maintenance: Easy to clean and cost-effective to maintain.
- Customization: Choose your preferred color, texture, and bounce level.
- Performance: Ensures player safety and consistency in gameplay.
At PFS Sports, our premium acrylic coatings are designed for long-lasting vibrancy and grip across all outdoor sports facilities.
Step-by-Step Acrylic Sports Court Installation Process
Step 1 – Site Inspection and Planning
Every successful installation starts with a thorough site evaluation.
Check for:
- Proper drainage
- Crack-free foundation
- Adequate slope (to prevent water stagnation)
PFS Sports recommends conducting a surface test to identify any underlying issues before beginning.
Step 2 – Base Construction
A durable base ensures longevity. Depending on the project, you can choose:
- Asphalt Base: Ideal for outdoor use; flexible and cost-effective.
- Concrete Base: Suitable for indoor courts; provides rigid stability.
After laying the base, allow sufficient curing time — typically 14 to 28 days for concrete — before applying the acrylic layers.
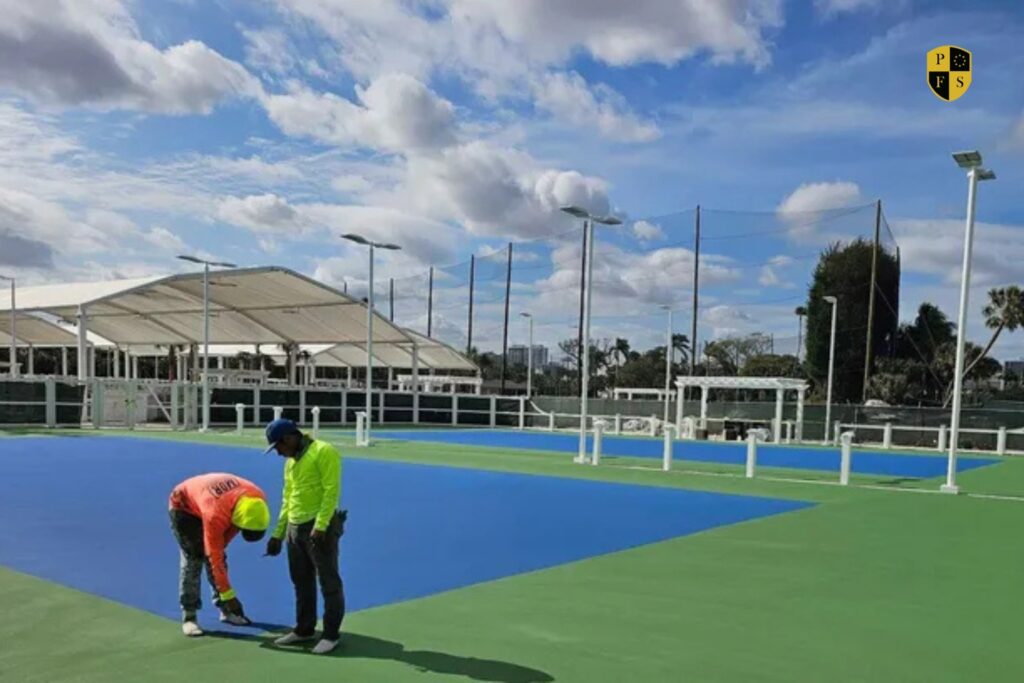
Step 3 – Surface Cleaning and Preparation
Remove dust, oil, or debris using a pressure washer. Fill cracks with a PU binder and rubber granule mix for uniformity.
PFS Sports supplies high-quality PU binders that ensure strong adhesion between the base and the acrylic coating — a crucial step for long-lasting performance.
Step 4 – Primer Application
A primer coat improves bonding between the base and acrylic layers.
Use a water-based or solvent-free primer recommended by PFS Sports for maximum grip.
Apply evenly and let it dry for 4–6 hours before the next step.
Step 5 – Acrylic Resurfacer Layer
The resurfacer is a blend of acrylic emulsion, silica sand, and cement that smoothens minor imperfections.
It provides a consistent texture and prepares the surface for color coatings.
Apply 1–2 coats using a squeegee and allow proper drying time between applications.
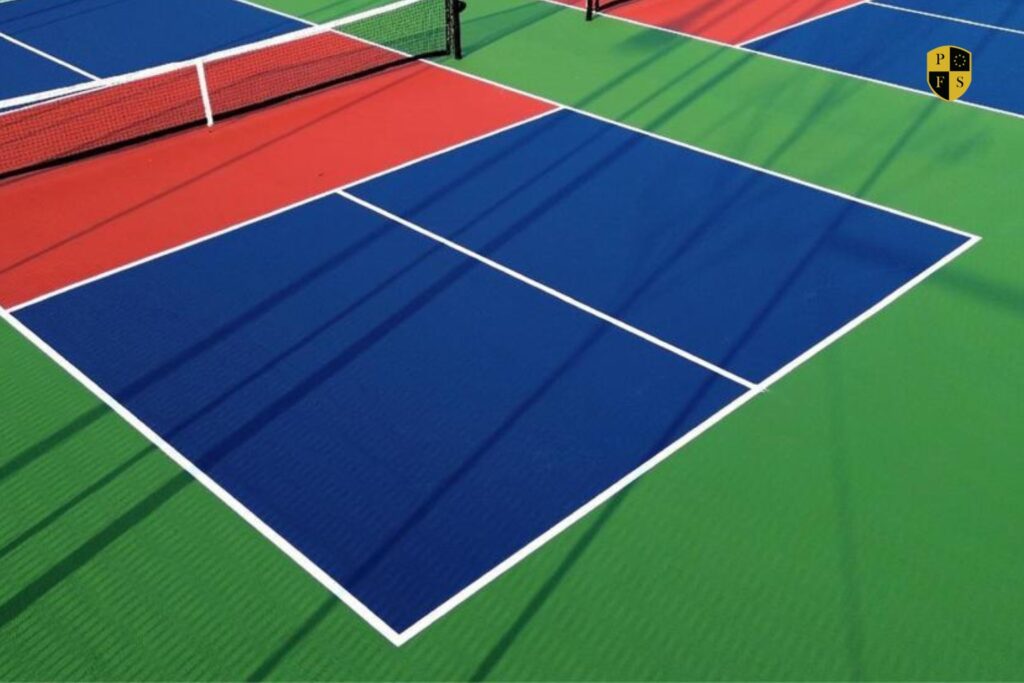
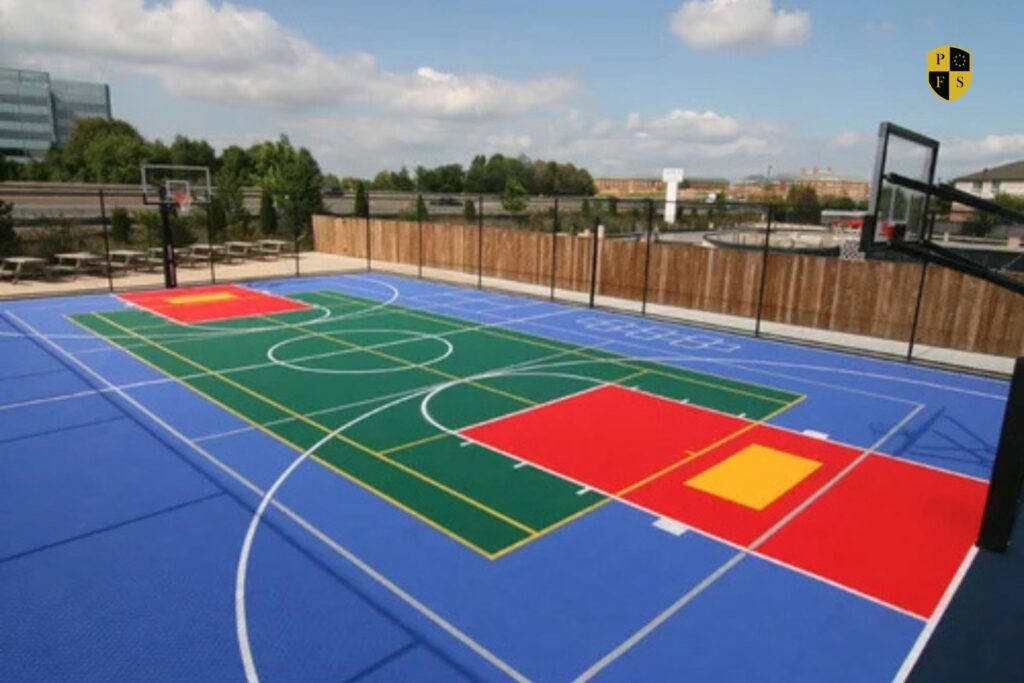
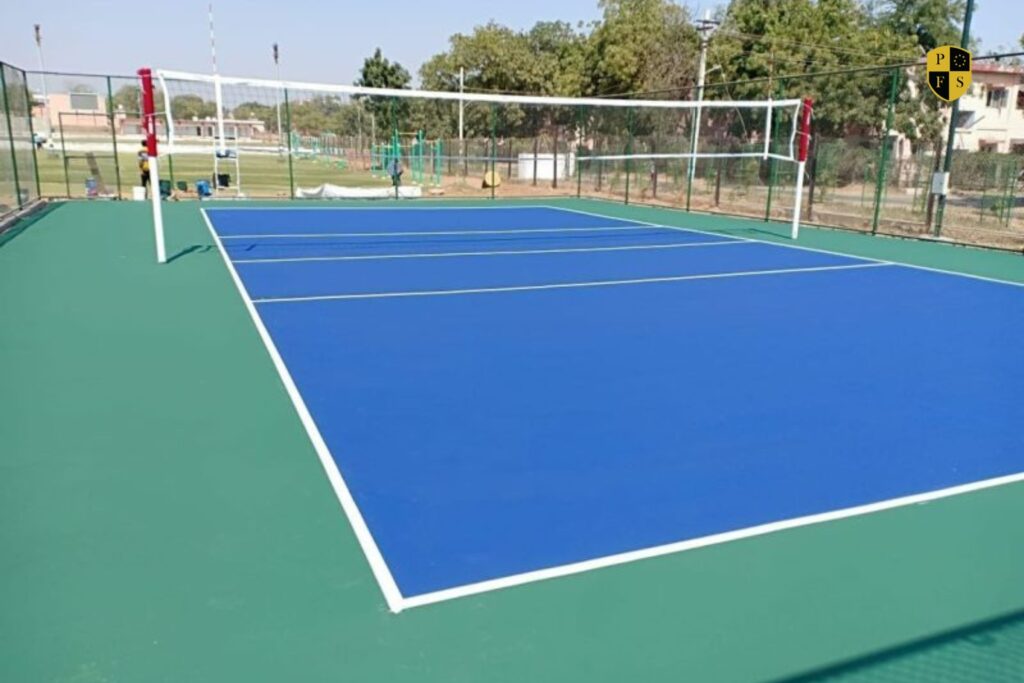
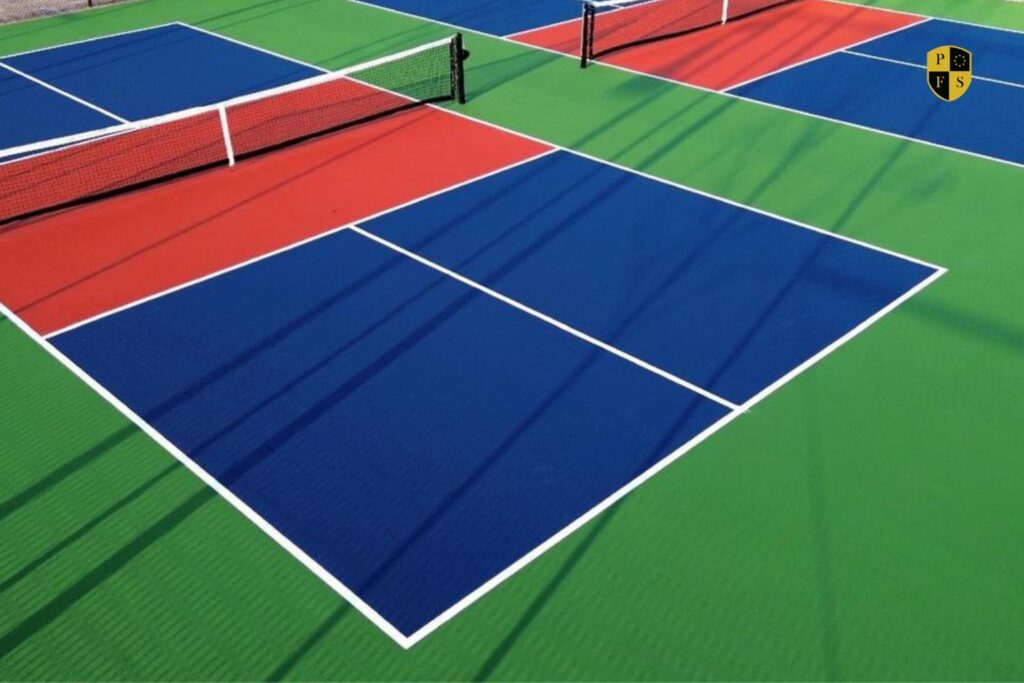
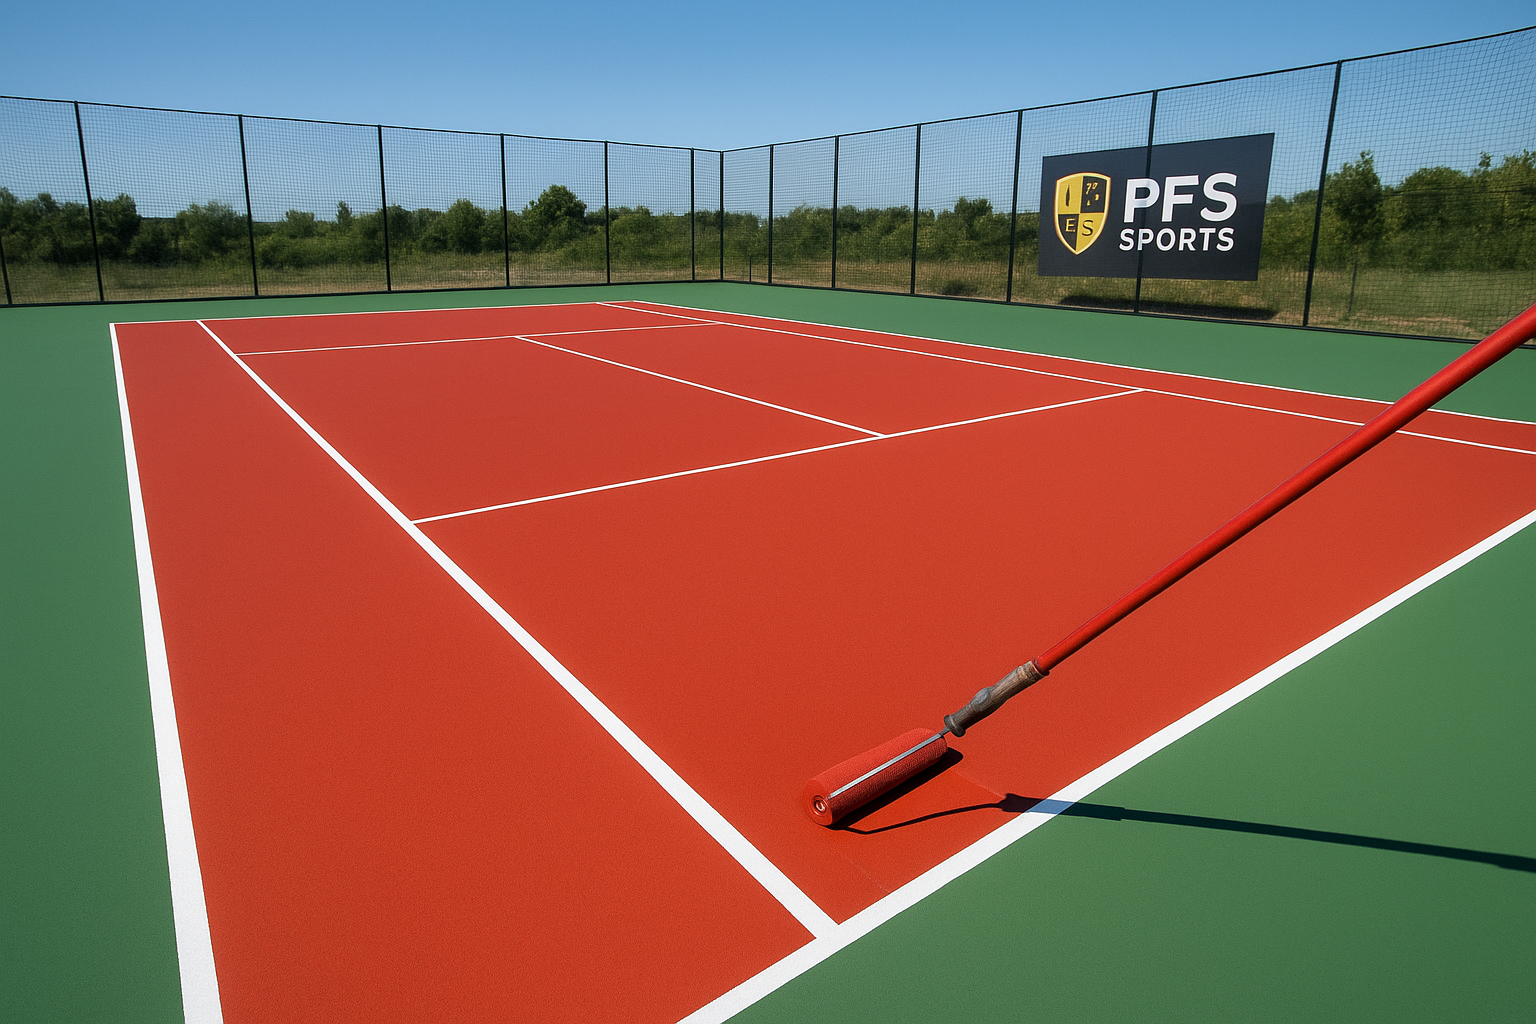
Step 6 – Color Coating Layers
This is where your court comes to life.
Apply two coats of acrylic color — one base color and one finish layer. Choose from vivid, UV-stable pigments available through PFS Sports.
Each layer enhances aesthetics while adding protection and slip resistance.
Tip: Mix silica sand with the final coat for the perfect balance between traction and player comfort.
Step 7 – Line Marking and Finishing
Once the surface is completely dry, it’s time to mark lines using acrylic line paints that contrast well with the base color.
Ensure accurate measurements according to sport-specific dimensions (e.g., tennis, basketball, volleyball).
Use masking tape for clean, sharp edges and apply 1–2 coats of paint.
Finish with a protective acrylic sealant to extend surface life and prevent color fading.
Maintenance Tips for Acrylic Sports Courts
Even though acrylic surfaces are low-maintenance, proper care extends their life.
Routine Cleaning
- Sweep regularly to remove debris.
- Wash with mild detergent and water monthly.
- Avoid high-pressure washing directly on painted lines.
Seasonal Checkups
Inspect for minor cracks, fading, or dirt accumulation — especially after rainy seasons.
PFS Sports offers specialized maintenance materials and expert consultations to keep your court performing like new.
Why Choose PFS Sports for Acrylic Court Installation?
At PFS Sports (Polska Fabryka Sportów), we don’t just provide materials — we deliver complete sports surface solutions.
Our Products Include:
- Premium Acrylic Coatings: Vibrant, weatherproof, and durable.
- PU Binders & EPDM Granules: Ensuring perfect adhesion and elasticity.
- Artificial Turf Systems: For football, cricket, and multipurpose fields.
Our global expertise and advanced formulations make us the trusted choice for contractors, clubs, and facility owners across Europe and beyond.
Common Mistakes to Avoid During Installation
- Skipping surface cleaning before coating.
- Applying acrylic layers on a damp or uncured base.
- Using low-quality binders or color pigments.
- Ignoring slope and drainage planning.
Avoiding these pitfalls ensures a court that looks stunning and performs professionally for years.
Conclusion: Build It Right with PFS Sports
A well-installed acrylic sports court doesn’t just look great — it delivers professional-grade performance and safety.
From base preparation to final coating, every step matters in achieving a court that endures.
With PFS Sports, you get European-quality materials, expert support, and proven installation results. Whether you’re building a tennis court, basketball arena, or multi-sport facility — PFS Sports is your trusted partner in performance.
👉 Ready to transform your space? Visit www.pfs.sport to explore our full range of acrylic coatings and installation solutions.